
How To Use A Slackline Ratchet?
The most basic and durable system for slacklining is a slackline ratchet and webbing slings setup; How to use a slackline ratchet? It’s simple to set up and quick to release. The ratchet and webbing belt are likewise light enough to transport around town or lift all the way to a mountain top.
This slackline kit isn’t for kids! The kit may be stretched to a high level of tension and must be used in accordance with the instructions provided. This tension might result in serious damage if handled incorrectly.
You may take it anywhere in your backpack or leave it in your car so that you can use your slackline kit at a moment’s notice.
Let’s look at the basics steps on how you can set up a slackline with a ratchet attached:
No products found.
Step 1
You’ll want to check for wear and tear on all parts before you begin each time. Wrap the tree protector around the tree and fasten it with Velcro closure on one side/anchor point. Repeat the procedure on the other side/anchor point.
Step 2
Wrap the tree trunks you have chosen around both halves, ratchet end, and webbing sling end. Fold the portion where the slackline webbing comes into contact with the sling in half.
Step 3
Repeat the procedure in reverse, starting with step 2. Wrap the tree protector around the tree and attach tree/anchor slings using a Velcro fastener first. Then connect the ratchet to the sling using the second stainless steel bow shackle.
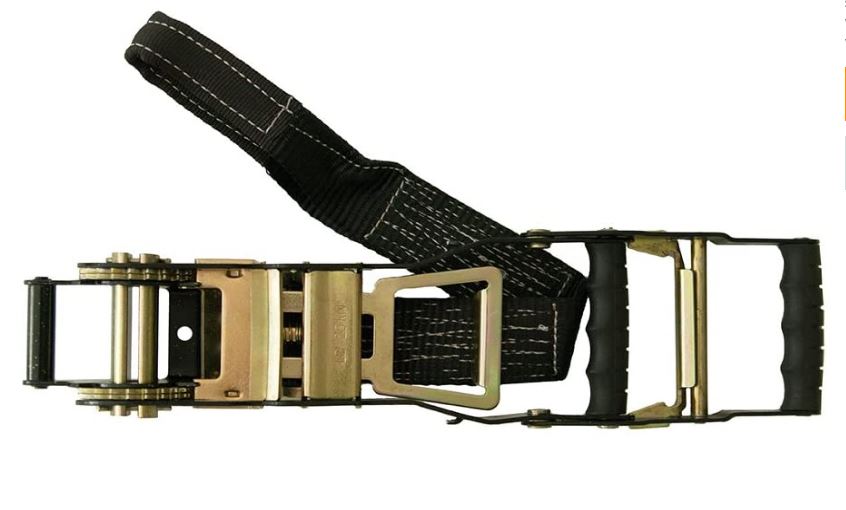
Tip: Loosening the bolt a bit makes it simpler to remove later. The webbing loop of the ratchet should be placed over the shackle bolt. For simple tightening, make sure that the lever of the ratchet is facing up.
Step 4
To release the lock, pull the inner square away from the handle (the locking mechanism will spring open) and then raise it with your thumb until it engages with the lock plate. Now you can move the ratchet lever toward yourself.
Step 5
You will now need to put the slackline webbing in a way that goes through the front spindle. Make sure the line is straight, not twisted, and travels between the spacing.
Step 6
With your other hand, wind the line through and hold it as tight as you can with one hand. The cable should be standing on the ground now.
Step 7
Check that the line is correctly tightened. With the ratchet in position, tighten both upper and lower slacklines together until they do not lose tension. Adjust the ratchet lever to achieve the desired tension. To ensure that the line is securely fastened, it must turn once completely at least once.
Step 8
To keep the ratchet from closing on its own, push the metal square up and shut the ratchet completely. Push the lever downward toward the webbing loop to achieve this. Use the remaining line to tie together the ratchet lever and line for double protection. This will prevent an accidental release of the ratchet.

Welcome to my site. I am Clyde Rutz. I am 22 years old. I am a SlackLine specialist. You can ask any question to me. I will try to back soon as early as possible.