
Fofana Slackline Review
Don’t worry, just accept that you won’t be able to walk on a Fofana slackline for the first time. When the ground beneath your feet isn’t fixed and solid, but rather shifting and jostling, it’s human nature to find oneself in an unpleasant circumstance.
The tension in the webbing may be as taut as you like, but the weight of your body will cause it to bend and shake. You’ll discover your balance and learn how to control the shaking by simply tuning in to your body’s natural, instinctive motions.
But how do I get started? You simply have to learn to walk as a kid, and you’ll eventually reach a point where you’ll feel comfortable, in full control of your actions, and balanced.
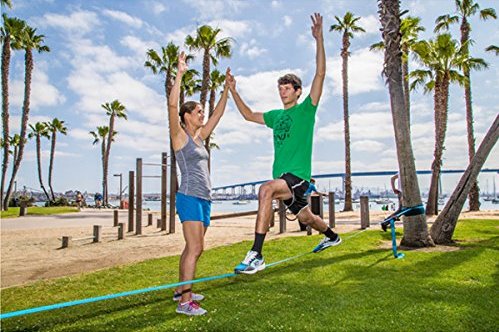
Slacklining: Back To The Basics
The Slackline requires a great deal of practice to master, but you may get started by taking one step after another, maintaining your feet parallel to one another as if you were walking normally. It’s preferable to go without footwear.
No products found.
Here’s how to get started. With a 10m-long line of webbing draped over you, 50cm off the ground; your hands facing upwards and your arms extended over your shoulders, prepared to perform stabilizing exercises; gazing steadfastly at a distant point, such as the end of the line.
Tricklining
The most daring slackliners practice this art, which entails doing traditional acts such as the Buddha, or the knee drop. It can also be used to perform real-time features like the chest bounce or butt bounce.
The first step should be taken by you. The second should be a learning experience. Recognize that the ceiling will have to come down and whether it’s going to be lowered with rope or bungee cords. You’ll need a harness, which is handy for novice slackliners since they learn how to walk across one quickly. With this information
Longlining
This entails striding across a webbing line that is longer than 30 meters with no upper limit and 2.5cm wide. It’s almost like taking a trip! As the length of the line increases, so does the instability of the webbing and the difficulty of maintaining balance.
The tension between these lines is adjustable, depending on the practitioner: it may range from 15kN to 0 as in the Rodeo Line example. The usage of a Longline necessitates more attention and the tiniest discomforts can jeopardize both the walk and its safety.
Highlining
What’s the most effective way to convey an experience like that? We claim it’s at the pinnacle of slacklining in terms of intensity: in every sense!
The previous records were set by French alpinists in the early 1970s, using rope and nylon lines to reach heights of up to 7 kilometers. They used any available materials— including bedsheets, tent ropes, harnesses, shoes, sleeping bags—to construct their gear-free equipment.
The degree of danger encountered while performing this form of slacklining separates it from the preceding one. With FofanaSlacklines, you may walk on the roof of the world and reach the top of the highest mountains while becoming one with the rope!
Now that you know the basics, let’s take a look at some Fofana products that may fit your requirements!
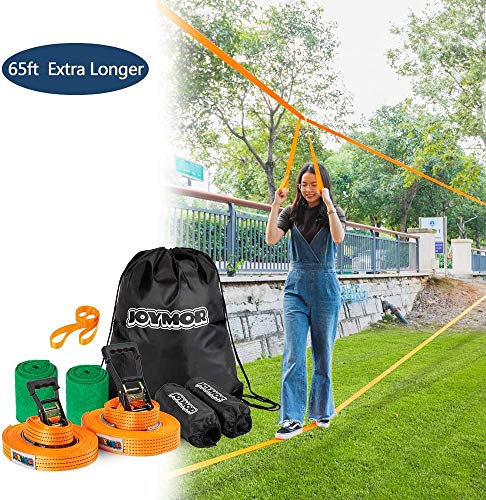
1) Fofana Ninja Slider Slackline
This slackline is ideal for beginners learning about the world of slacklines. The versatility of the slackline makes it suitable for even novice skiers. Total length: 65 ft.
The non-slip Pro-Grip coating on the nylon webbing ensures maximum grip on the slackline, and it’s also available in pink. The bright neon green band has a black border to complement.
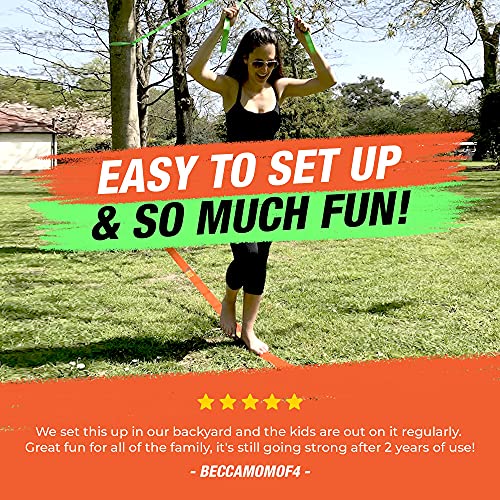
2) Fofana Ninja Warrior Obstacle Course 65ft
The Fofana Ninja Warrior Obstacle Course is an excellent place to begin learning about the slackline world. This Ninja Warrior Obstacle features a unique rubberized printing that gives it a superior grip in every scenario. ThusWHITE LINE 15m has all you’ll need for setup, including directions.
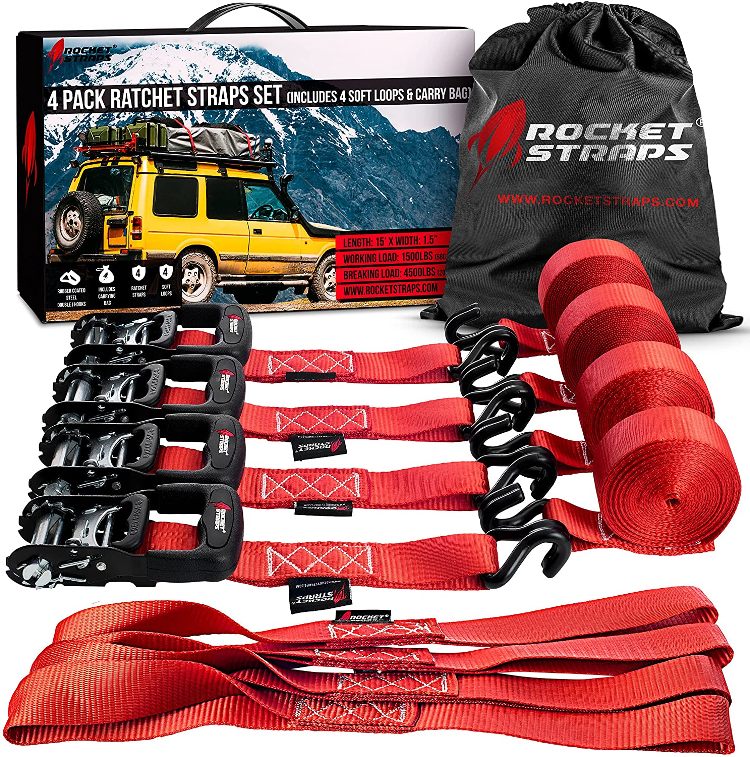
3) Fofana Ninja Slider Slackline Pulley Kit – 65 Ft.
The ideal line for persons who begin and are dissatisfied is 165 ft, according to the TRAINING line. It’s appropriate for athletes of all ages, those who work out at a gym, and those who want to keep going outside.
You will preserve nature and your slackline with the tree guards that come as part of the package. The training line also includes a distinctive rubberized print for maximum hold on the line in every condition.
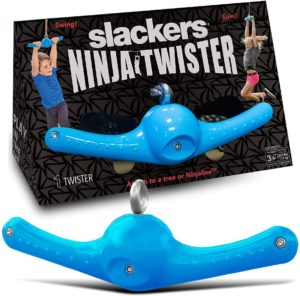
4) Ninja Warrior Obstacle Course for Kids
The Outdoor kit, which is manufactured entirely in Italy, is the final solution to a lack of trees when slacklining. It’s suitable for any sort of surface, including grass, pebble, little sand, and even snow.
This is a slackline that you can extend to three heights without having to disassemble and reassemble the line. It comes with two strong frames that allow you to change the slacker’s length.
The nails are built to go straight into the earth and, when you’re done using the slackline, the soil compresses and releases them without harming your plants! The outdoor kit is the answer to enjoy slacklining with family and friends. The Slackline must be purchased separately.
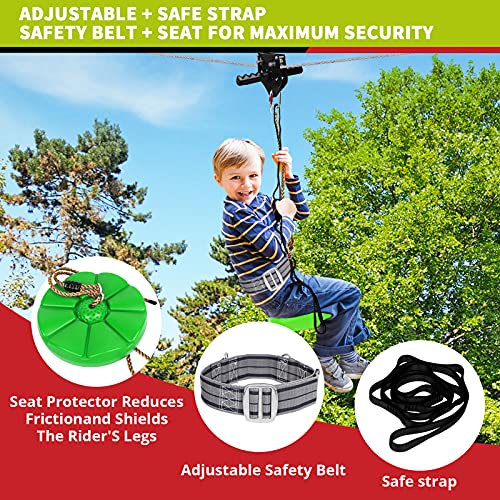 You may like this 98 Feet Zip Line Kit for Kids

Welcome to my site. I am Clyde Rutz. I am 22 years old. I am a SlackLine specialist. You can ask any question to me. I will try to back soon as early as possible.


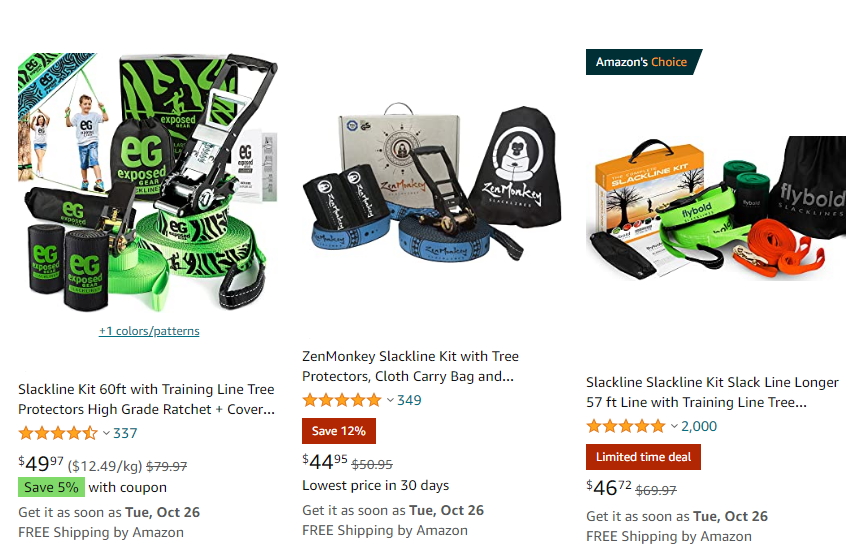


 You may like this Slackline Set Trees Protector it’s an Amazon 1st Choice


 You may like this Slackline Kit 60ft with Training Line Tree Protectors